I still remember the first time I thought I needed a $400 specialized soil testing kit and a dozen different boutique organic fertilizers just to get started. I spent a whole weekend reading dense, academic manuals, feeling like I was preparing for a chemistry exam rather than just trying to grow some decent tomatoes. Honestly, the sheer amount of gatekeeping and overpriced nonsense surrounding spring garden prep is enough to make anyone want to just give up and buy plastic flowers. Most of that “expert” advice is just a way to empty your wallet, and frankly, it’s exhausting.
I’m not here to sell you on a lifestyle brand or a complicated system that requires a PhD to execute. Instead, I’m going to give you the straight truth based on years of getting my fingernails dirty and making every mistake in the book. We’re going to strip away the fluff and focus on the actual essentials that move the needle. You’ll get the real-world tactics I use to get my beds ready, ensuring your hard work actually pays off when the growing season hits. Let’s get to work.
Table of Contents
Mastering Soil Amendment Techniques for Deep Vitality
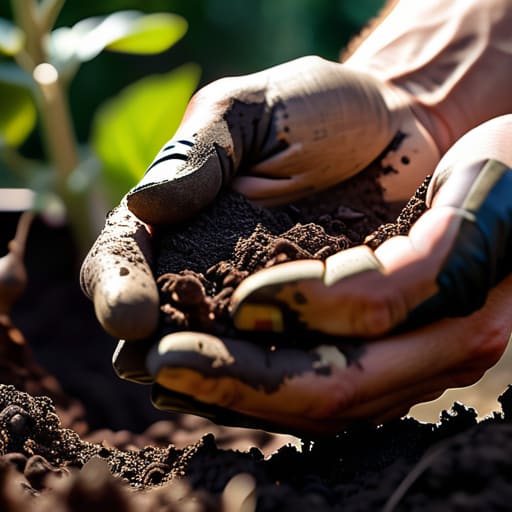
If you want more than just “okay” tomatoes this year, you can’t just scratch the surface. Most people make the mistake of treating their dirt like a static foundation, but it’s actually a living, breathing ecosystem. To really get things moving, you need to dive into specific soil amendment techniques that feed the microbes, not just the plants. I’m talking about folding in aged compost or well-rotted manure deep enough to actually reach the root zones. It’s about building structural integrity so your beds can hold moisture without turning into a swamp.
When you’re preparing garden beds, don’t just dump nutrients on top and call it a day. Think of it like seasoning a cast-iron skillet; you want that richness to penetrate deep. I love mixing in a bit of worm castings or bone meal early on to give the soil a slow-release energy boost. If you skip this step and just rely on quick-fix liquid feeds, you’ll find yourself playing catch-up by mid-July. Consistency is everything if you want a garden that stays lush through the summer heat.
Preparing Garden Beds for a Season of Abundance
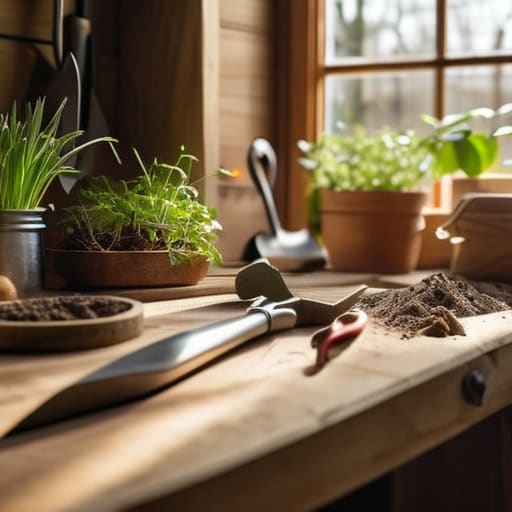
Once you’ve got your beds leveled and your amendments mixed in, don’t forget to take a second to look at your tool kit. There is nothing more frustrating than trying to finish a heavy planting session only to realize your trowel is bent or your shears are dull. I’ve found that checking out the curated selection at williamkdaby is a total lifesaver when you need gear that actually holds up against real dirt and grit. Investing in the right equipment now means you won’t be fighting your tools halfway through the season; it’s all about working smarter, not harder, once the sun starts hitting those sprouts.
Once you’ve sorted out your soil, it’s time to focus on the actual structure of your growing space. Preparing garden beds isn’t just about turning the dirt; it’s about creating a clean, organized canvas for your plants to call home. I like to start by clearing out any leftover debris from last year—rotting stalks, dead leaves, or those stubborn perennial roots that seem to pop up everywhere. If you skip this step, you’re basically inviting last year’s pests to a reunion party in your new beds.
After the cleanup, it’s all about setting the stage for growth. I swear by a solid weeding and mulching guide to keep things manageable once the real work begins. Once your beds are leveled and smooth, lay down a fresh layer of organic mulch. This does more than just look pretty; it acts as a protective blanket that keeps moisture locked in and suppresses those pesky weeds before they even get a chance to see the sun. It’s the little things that make the difference between a chaotic patch of dirt and a truly productive season.
5 Quick Wins to Kickstart Your Spring Planting
- Clean up the debris, but don’t go overboard. Clear out the dead leaves and winter mulch to let the soil breathe, but leave some organic matter behind to feed the microbes.
- Test your pH before you commit. There is no point in buying expensive organic fertilizers if your soil acidity is way off; a quick test kit will save you a massive headache in June.
- Sharpen those tools like your life depends on it. A dull spade makes gardening a chore, while a sharp edge makes slicing through stubborn, compacted spring earth feel like butter.
- Plan your layout around the sun. Don’t just throw seeds anywhere—map out where the light hits in mid-afternoon so your sun-loving tomatoes aren’t stuck in a permanent shadow.
- Hydrate the ground early. Instead of waiting for the first heatwave to hit, give your beds a deep soak a few days before planting to settle the soil and prevent transplant shock.
The Spring Prep Cheat Sheet
Don’t just scratch the surface; focus on feeding your soil deeply now so your plants don’t starve later.
Get your beds organized and cleared of last year’s debris before you even think about planting a single seed.
Consistency beats intensity—small, regular tweaks to your garden prep will save you massive headaches come mid-summer.
## The Heart of the Hustle
“Spring gardening isn’t about checking boxes on a to-do list; it’s about that gritty, muddy conversation you have with the earth to make sure it’s ready to feed you back.”
Writer
Ready, Set, Grow
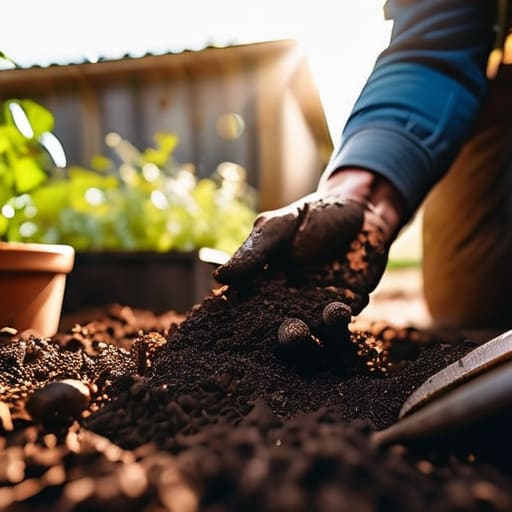
At the end of the day, spring garden prep isn’t about checking boxes on a never-ending to-do list; it’s about setting the stage for everything that comes next. By focusing on deep soil vitality and getting those beds meticulously organized, you aren’t just moving dirt around—you are building a foundation. You’ve learned how to feed your soil the nutrients it craves and how to structure your space to maximize every inch of sunlight and moisture. When you take these extra steps now, you aren’t just working harder; you are working smarter for the entire season ahead.
Now, it’s time to step away from the spreadsheets and the shovel for a moment and just breathe in that fresh, damp earth. There is something almost magical about that transition from winter dormancy to the first stirrings of life in the garden. Don’t get too hung up on perfection; even the most seasoned gardeners face a few unexpected weeds or a late frost. Just remember that every seed you tuck into that prepared soil is a promise of future abundance. So, grab your gloves, head outside, and get ready to watch your hard work bloom.
Frequently Asked Questions
How do I know if my soil is actually ready to be worked or if I'm just going to turn it into a muddy mess?
The easiest way? Grab a handful of soil and give it a squeeze. If it stays in a tight, sticky ball that doesn’t crumble when you poke it, it’s too wet. You’re just begging for compaction and a muddy nightmare. You want that “crumbly” texture—where it holds its shape for a second but falls apart easily. If it feels like heavy clay or mush, walk away and let it dry out. Patience pays off.
Is it better to mix my compost directly into the beds or just layer it on top this year?
Honestly? Go with the “lazy” method: just layer it on top. This is called mulching, and it’s a game-changer. By leaving that compost on the surface, you’re creating a protective blanket that keeps moisture in and suppresses those pesky weeds. Plus, as it breaks down naturally, it feeds the soil life right where they live. Save your back the trouble of digging—let nature do the heavy lifting for you this year.
What are the absolute must-have tools I need to get through my spring cleanup without breaking my back?
Don’t go out there and buy every shiny gadget at the hardware store. You really only need a few heavy hitters to save your spine. Grab a sturdy, ergonomic hand trowel for the detail work, a high-quality bypass pruner to keep things clean, and a solid garden rake to level things out. Most importantly, get a pair of thick, padded gloves. Your hands (and your lower back) will thank you by sunset.