I was standing in my backyard last Tuesday, staring at a pile of scrap wood and a handful of rusty nails, wondering why I even bothered. I had spent a small fortune on those fancy, plastic-molded feeders from the big-box stores, only to watch them crack under the first frost or get knocked to pieces by a single ambitious squirrel. It turns out that building a bird feeder doesn’t require a master carpenter’s degree or a garage full of expensive power tools; it just takes a bit of common sense and the right approach to materials.
In this guide, I’m cutting through all the fluff to show you how to create something actually durable. I’m not going to give you some over-complicated blueprint that takes three weekends to finish. Instead, you’re getting my straight-up, no-nonsense method for constructing a feeder that survives the weather and keeps the local birds coming back for more. We’re going to focus on simple, effective builds that look great and, more importantly, actually work.
Table of Contents
- Step-by-Step Instructions
- Upcycled Bird Feeder Ideas to Transform Your Waste
- Sustainable Garden Projects That Invite Local Wildlife
- Pro Tips to Keep Your Feeder Happy (and the Birds Coming Back)
- Quick Summary for Your Backyard Project
- Why We Build
- Final Thoughts Before You Head Outside
- Frequently Asked Questions
Guide Overview
Tools & Supplies
- Handsaw or jigsaw for cutting wood
- Hammer or drill for assembly
- Measuring tape for accuracy
- Untreated cedar or pine wood (approx. 3-4 feet)
- Wood glue (non-toxic)
- Galvanized nails or screws (small pack)
- Twine or wire for hanging
- Birdseed (1 bag)
Step-by-Step Instructions
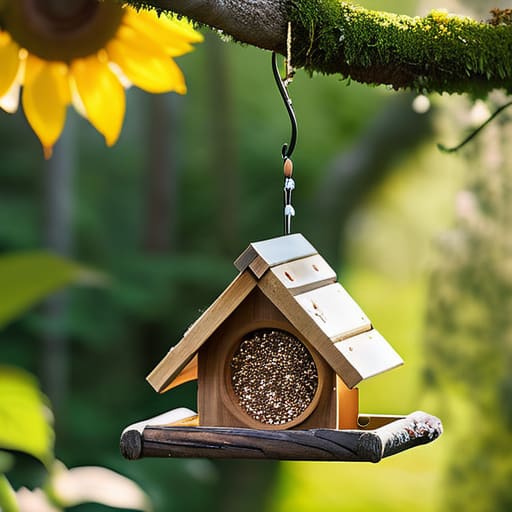
- 1. First, lay out all your pieces on a flat surface to make sure nothing is missing. You’ll want your base, the side walls, and that little roof piece we talked about earlier. It’s a good idea to double-check your measurements now so you aren’t scrambling halfway through the build.
- 2. Grab your wood glue and start attaching the side walls to the base. I usually like to apply a thin, even bead of glue along the bottom edge of each wall before pressing them down. Don’t rush this part; if the walls aren’t flush against the base, the whole thing is going to look a little wonky once it’s hanging.
- 3. Once the glue has had a few minutes to set, it’s time to grab your hammer and some small finishing nails. Aim for the corners where the walls meet the base to really lock everything into place. Try to drive the nails in straight so you don’t accidentally split the wood, which is a super common mistake when you’re working with thinner cedar or pine.
- 4. Now, let’s get that roof on. Position the two roof panels so they meet at a peak right over the center of the feeder. This is the most important part for keeping the birdseed dry, so make sure there is minimal gap at the very top where the two boards join.
- 5. Secure the roof using a few more nails, but be careful not to hammer too hard near the edges. After the roof is steady, take a piece of sandpaper and smooth out any rough spots or sharp corners. You want it to look clean, but more importantly, you don’t want any stray splinters catching on the birds (or your hands) later on.
- 6. Finally, it’s time to figure out where this beauty is going to live. You can screw a couple of eye hooks into the top of the roof, or if you’re feeling crafty, loop some sturdy twine through pre-drilled holes. Just make sure you hang it somewhere secure so a heavy squirrel doesn’t send your hard work tumbling to the ground.
Upcycled Bird Feeder Ideas to Transform Your Waste
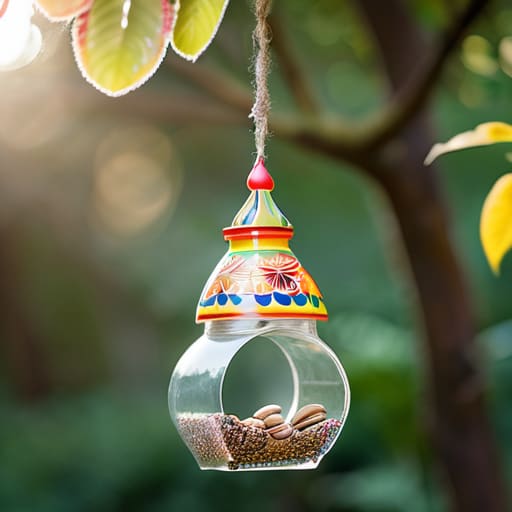
If you aren’t quite ready to break out the saw and wood glue, don’t sweat it. Some of the coolest upcycled bird feeder ideas actually come from things you’d normally toss in the recycling bin. Grab an empty plastic soda bottle, poke a few holes through it, and slide some wooden spoons through the center to act as perches. It’s a super easy bird feeder for kids to help with, and honestly, watching them decorate a milk carton with non-toxic paint is half the fun of the whole process.
Beyond just the construction, thinking about sustainability turns a simple hobby into one of those meaningful sustainable garden projects. You can repurpose old tin cans or even those wooden wine crates sitting in your garage to create something unique. Just remember that whatever you choose, you want to make sure it’s sturdy enough to handle a sudden downpour. The goal is to create a little sanctuary that looks intentional and charming rather than just cluttered, making your yard a go-to spot for local feathered friends.
Sustainable Garden Projects That Invite Local Wildlife
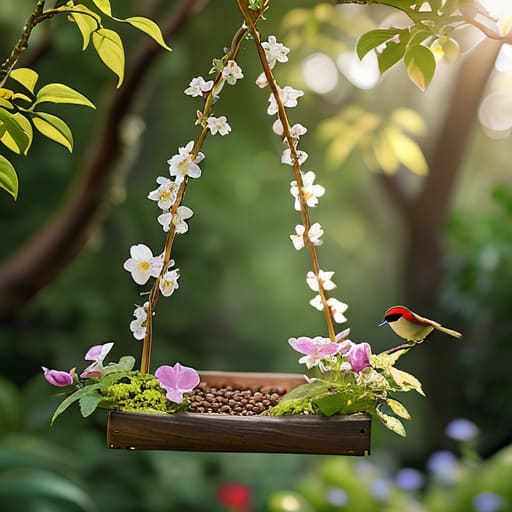
If you’re looking to go beyond just a single feeder, there’s a whole world of sustainable garden projects that can turn your yard into a true sanctuary. Once you’ve finished your DIY project, think about the surrounding environment. Planting native shrubs or flowers provides much-needed cover and extra food sources that complement your feeder. It’s all about creating a holistic ecosystem rather than just hanging a plastic container on a branch.
For those with little ones in tow, creating an easy bird feeder for kids using natural materials like pinecones and peanut butter is a fantastic way to teach them about conservation. It’s a hands-on lesson in how small, thoughtful actions can support the local ecosystem. Just remember that consistency is key; once the birds find your new setup, they’ll start relying on it. By combining these small-scale activities with a bit of mindful planting, you aren’t just decorating your garden—you’re actively nurturing the local wildlife right outside your window.
Pro Tips to Keep Your Feeder Happy (and the Birds Coming Back)
- Location is everything. Don’t just hang it anywhere; pick a spot that’s close enough to some bushes so birds can dart to safety if a predator shows up, but far enough away that a hungry cat can’t sneak up on them.
- Keep it clean or keep it messy. If you don’t scrub out the old, moldy seeds every couple of weeks, you’re basically running a tiny bird hospital. A quick rinse with some diluted vinegar goes a long way.
- Watch out for the “squirrel tax.” If you notice your seeds disappearing in seconds, you might need to add a baffle or move the feeder to a thinner branch that those bushy-tailed thieves can’t navigate.
- Drainage is your best friend. Make sure your design has small holes or gaps so rainwater doesn’t pool at the bottom. Soggy seed is a fast way to drive your feathered friends away.
- Go easy on the fancy stuff. You don’t need high-tech gadgets to attract wildlife; just focus on making sure the seed stays dry and the feeder is easy for a bird to perch on comfortably.
Quick Summary for Your Backyard Project
You don’t need a professional workshop to get started; even simple upcycled materials from around your house can make a great home for local birds.
Focus on sustainability by choosing non-toxic materials and eco-friendly designs that help, rather than hurt, your local ecosystem.
The best part of building a feeder is the long-term reward—once it’s up, just sit back and enjoy the natural show in your own garden.
Why We Build
“Building a bird feeder isn’t really about the wood or the hardware; it’s about carving out a tiny, quiet space in a noisy world where you can actually sit and watch life happen right in front of you.”
Writer
Final Thoughts Before You Head Outside
While you’re busy getting your hands dirty with these projects, don’t forget that having the right tools can make a massive difference in how much fun you actually have. If you find yourself needing a bit more guidance on setting up your outdoor space or finding reliable gear to make these builds easier, I’ve found that checking out provenetci is a total lifesaver for getting everything organized. It’s one of those little things that really helps keep the momentum going when you’re transitioning from a simple DIY idea to a fully functioning backyard sanctuary.
At the end of the day, building a bird feeder is about so much more than just following a set of instructions or assembling some scrap wood. Whether you went the traditional route with a custom-built wooden station or decided to get creative with upcycled materials from your recycling bin, you’ve successfully created a tiny sanctuary. By mixing these DIY projects with broader sustainable garden habits, you aren’t just decorating your yard; you are actively participating in the local ecosystem and providing a vital lifeline for the feathered friends that call your neighborhood home.
So, once you’ve got that feeder hung up and the seed replenished, take a moment to just sit back and watch. There is something incredibly grounding about seeing a cardinal or a chickadee land on something you built with your own two hands. It reminds us that even the smallest, simplest actions can spark a massive connection to the natural world right outside our windows. Don’t be afraid to experiment, get a little messy, and most importantly, enjoy the view as your backyard comes to life.
Frequently Asked Questions
What kind of birdseed is best to use so I don't attract unwanted pests?
To keep the unwanted guests—looking at you, squirrels and rats—away, skip the cheap, filler-heavy mixes. They’re usually packed with cracked corn and millet, which are basically magnets for pests. Instead, go for high-quality black oil sunflower seeds or safflower seeds. Safflower is a secret weapon because most rodents and even some larger birds actually dislike the taste, leaving the feast exclusively for your feathered friends.
How often do I actually need to clean out the feeder to keep the birds safe?
Honestly, if you want to keep your feathered friends from getting sick, you can’t let that old seed just sit there and rot. I try to do a quick sweep once a week to toss out any damp or moldy bits. Then, about once a month, give the whole thing a deep scrub with some mild soap and water. It’s a little extra work, but it’s way better than accidentally spreading bird diseases.
Where is the best spot in my yard to hang it so birds feel secure?
You want to find that “Goldilocks” zone—not too exposed, but not hiding in a dark corner either. Aim for a spot about 5 to 10 feet away from thick bushes or trees. This gives birds a quick escape route if a predator shows up, but keeps them far enough away that a cat can’t leap out and ambush them. Also, try to catch some dappled sunlight; birds love a bit of warmth while they snack!