I was standing in my kitchen at two in the morning, staring at a melted, blackened heap of soy wax that smelled more like burnt toast than “Midnight Jasmine,” and I seriously considered throwing the whole hobby in the trash. Most people will tell you that candle making is this delicate, mystical art form that requires a chemistry degree and a pristine laboratory, but let me tell you the truth: it’s mostly just controlled chaos and a lot of trial and error. I spent months wasting expensive fragrance oils and ruining perfectly good jars because I was following “expert” tutorials that were way too complicated for a beginner to actually use.
I’m not here to sell you on some overpriced, aesthetic lifestyle dream; I’m here to show you how to actually get it right. This guide is stripped of all the fluff and unnecessary jargon, focusing instead on the real-world mechanics of getting a clean burn and a scent that actually fills a room. We are going to dive into the stuff the pros usually gloss over—like why your wick keeps drowning and how to stop your wax from frosting—so you can stop wasting money and start creating something you’re actually proud to light.
Table of Contents
Guide Overview
Tools & Supplies
- Double boiler or heat-proof pitcher for melting wax
- Thermometer to monitor wax temperature
- Pouring pitcher for controlled pouring
- Wick centering tool to keep wicks straight
- Soy or paraffin wax (approx. 2 lbs)
- Cotton wicks (set of 10-20)
- Fragrance oils (1-2 oz)
- Candle jars or tins (4-6 units)
Step-by-Step Instructions
- 1. First things first, you need to get your workspace ready. This isn’t a “clean as you go” kind of hobby; wax spills are a nightmare to scrub off a countertop once they harden. Grab a cheap silicone mat or some old newspapers to lay down, and make sure you have a digital thermometer handy. Trust me, guessing the temperature is the fastest way to ruin a batch.
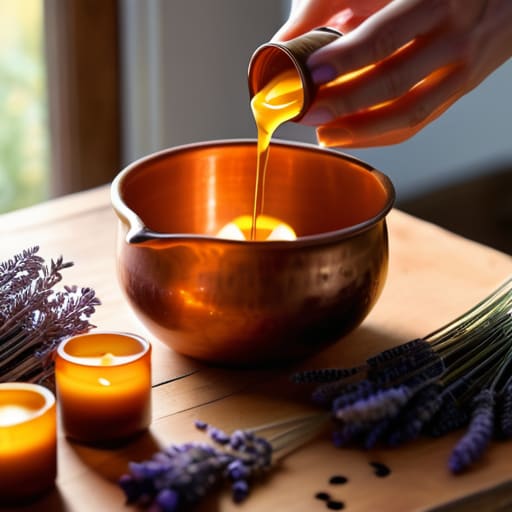
- 2. Once your station is set, it’s time to melt the wax. Use a double boiler setup—either a dedicated wax melter or just a heat-proof pitcher sitting inside a pot of simmering water. You want to melt it slowly and steadily. If you crank the heat too high to speed things up, you risk scorching the wax and creating a weird, acrid smell that no amount of fragrance can fix.
- 3. While the wax is melting, prep your containers. Grab your jars or tins and use a tiny bit of hot glue or a wick sticker to secure the wick to the dead center of the bottom. If that wick is even slightly off-center, your candle will burn lopsided, creating a “tunnel” that wastes half your wax. Use a clothespin or a centering tool to keep it upright and steady while you work.
- 4. This is where the magic (and the science) happens. Once your wax reaches the specific temperature recommended by your supplier, take it off the heat and stir in your fragrance oils. Don’t just dump them in and stir for five seconds; you need to stir gently but thoroughly for at least two full minutes. This ensures the oil actually binds with the wax molecules instead of just sinking to the bottom.
- 5. Now, the waiting game. Pour your melted wax into your prepared containers, but do it in one smooth, continuous motion. If you stop and start, you might create air bubbles or lines in the wax. Once poured, leave them alone. Don’t move them, don’t poke them, and definitely don’t try to light them immediately.
- 6. Let them cure. This is the hardest part for most beginners, but you have to let the candles sit at room temperature for at least 24 to 48 hours. If you’re using soy wax, you might actually want to wait a full week before lighting them to get the absolute best scent throw. Patience is literally the secret ingredient here.
- 7. Finally, trim that wick. Once the candle is completely solid, take a pair of scissors and snip the wick so it’s about a quarter-inch long. If the wick is too long, you’ll get a massive, smoky flame that’s impossible to control; if it’s too short, it’ll drown in the wax. Trim it right, and you’re ready to glow.
Curating Essential Candle Making Supplies for Beginners
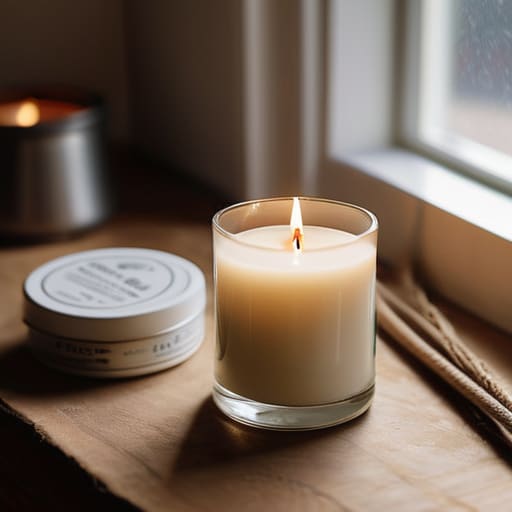
Don’t let the massive catalogs of hobby shops intimidate you. When you’re first starting out, it’s tempting to buy every glittery jar and neon dye available, but I highly recommend sticking to the basics to avoid wasting money. Focus on high-quality candle making supplies for beginners that actually work together. For instance, don’t just grab any wick you see; you need to research specific wick types for soy wax to prevent that dreaded tunneling that ruins a perfectly good pour.
Once you have your base, the real magic—and the real math—comes into play with your scents. You can’t just eyeball the fragrance; you need to understand candle fragrance load ratios to ensure your home actually smells like a spa rather than a faint hint of nothingness. It’s a delicate balance between a strong scent throw and a clean burn. Keep a small notebook handy to jot down your successes and failures. Trust me, tracking your ratios is the only way you’ll eventually master those professional-grade hand poured candle techniques without the constant guesswork.
The Science of Fragrance Load Ratios and Melting Temperatures
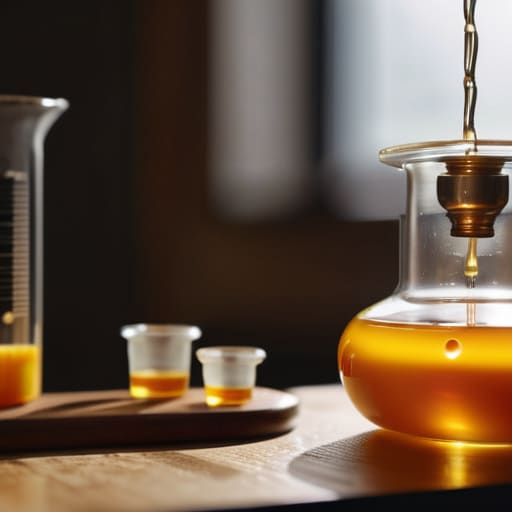
This is where most people hit a wall. You might have the best scent in the world, but if your math is off, you’re basically just making expensive, unscented wax. When you’re diving into candle fragrance load ratios, don’t just eyeball it. Most waxes have a sweet spot—usually between 6% and 10%—and if you push past that limit, you risk the oil separating from the wax or, even worse, creating a fire hazard. It’s a delicate balance of chemistry, not just a “more is better” situation.
Honestly, once you start playing around with different scents and vessel shapes, you’re going to realize that your workspace can get messy fast. I used to struggle with keeping my pouring station organized, but I found that staying ahead of the clutter is the only way to keep your focus on the actual craft. If you’re looking for some clever ways to keep your creative space feeling intentional rather than chaotic, I’ve been leaning on closetoverload for some brilliant organization inspiration that actually works in a real-life setting. It’s one of those little things that makes the whole process feel less like a chore and more like a ritual.
Then there’s the heat. You can’t just toss your fragrance into a lukewarm pool of wax and expect it to bind. To get that professional-grade scent throw, you need to follow a strict melting wax temperature guide. You’ll want to heat your wax to a specific point to ensure the fragrance oils fully integrate at a molecular level. If you add the scent too early, the fragrance might “flash off” or evaporate with the heat; too late, and it won’t bind properly. Getting this temperature window right is the secret sauce to a candle that actually fills a room.
The Little Things That’ll Save Your Sanity (and Your Countertops)
- Stop testing your wicks with a lighter. Use a piece of string or just eyeball the centering; you don’t need to set your whole workspace on fire just to see if it’s straight.
- Give your candles more time to cure than you think they need. I know you want to smell that vanilla heaven immediately, but if you burn it too soon, the scent is going to be weak and disappointing.
- Temperature is everything, so get a digital thermometer. Guessing when the wax is ready for fragrance is a one-way ticket to “why does my candle look like Swiss cheese?”
- Keep a dedicated “candle zone” in your kitchen. Wax spills are a nightmare to clean up once they harden, and you really don’t want your dinner tasting like lavender-scented soy.
- Don’t skimp on the wick size. There is nothing more soul-crushing than spending three hours on a beautiful candle only to realize it’s tunneling down the middle like a tiny, sad volcano.
The Bottom Line
Don’t skimp on the basics; your wax and fragrance choice dictates whether your candle is a luxury experience or just a pretty jar that smells like nothing.
Respect the science—messing around with temperature and fragrance ratios is the fastest way to end up with a wasted batch of wax.
Treat this as a practice, not a production; perfection comes from the trial and error of your first few pours.
## The Soul of the Pour
“Candle making isn’t just about melting wax and stirring in scents; it’s about capturing a specific feeling in a jar and learning that sometimes, the most beautiful things happen when you finally stop following the recipe and start trusting your nose.”
Writer
The Final Pour
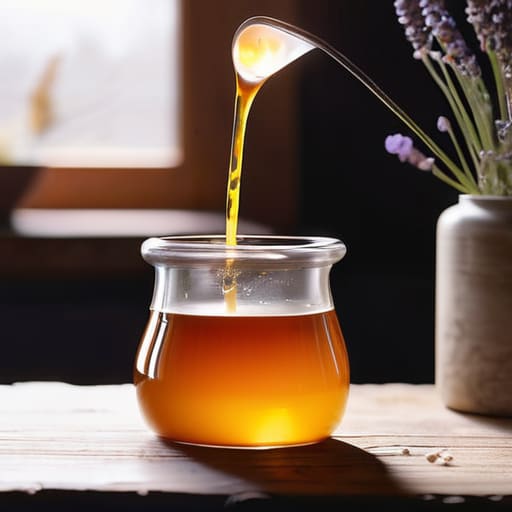
At the end of the day, candle making is a balancing act between chemistry and creativity. We’ve covered the heavy lifting—from sourcing the right supplies to mastering those tricky fragrance load ratios and temperature shifts. It’s easy to get bogged down in the technicalities of melting points and wick sizes, but remember that every bit of that math serves one purpose: ensuring your candle burns cleanly and smells incredible. Once you have the science of the melt dialed in, you stop worrying about the equipment and start focusing on the actual art of the craft.
Don’t let the fear of a “failed” batch keep you from lighting that first wick. Even the most seasoned makers have dealt with tunneling wicks or scent throw that just didn’t hit the mark. Those little mishaps are actually just data points that help you refine your signature style. Candle making is a deeply personal journey of experimentation, and there is something almost meditative about watching your own creations transform a room. So, grab your thermometer, trust your instincts, and go create something that makes your space feel like home.
Frequently Asked Questions
How do I stop my candles from tunneling or getting those annoying sinkholes around the wick?
Nothing kills the vibe of a beautiful candle faster than a hollowed-out center. If you’re seeing tunneling, you’re likely not burning it long enough; the first burn needs to melt the entire top surface to create a full “memory pool.” As for those sinkholes? That’s usually just the wax shrinking as it cools. To fix it, try a heat gun to smooth things over, or just make sure you aren’t over-fragrancing your batches.
Is it actually safe to use essential oils instead of fragrance oils, or will they just ruin my scent throw?
Here’s the truth: you can definitely use essential oils, but don’t expect them to behave like fragrance oils. While they’re safer and smell “cleaner,” they’re much finicky. Most essential oils have lower flash points, meaning they can evaporate or lose their scent the moment they hit hot wax. If you want that room-filling aroma, you’ll likely need to experiment heavily with scent loads to prevent your candles from smelling like nothing at all.
How can I tell if my wick is too big or too small for the specific jar I'm using?
The easiest way to tell is by watching the burn. If you see deep, heavy tunneling where the wax clings to the sides like a ring, your wick is too small—it just isn’t throwing enough heat. On the flip side, if the flame is dancing wildly, smoking, or the jar itself feels dangerously hot to the touch, your wick is too big. You’re looking for that “sweet spot”: a smooth, even melt pool that reaches the edges.