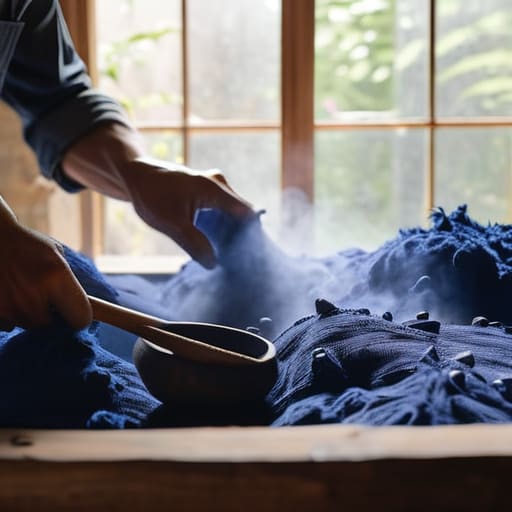
I still remember the stinging scent of vinegar and the sight of my once-pristine white linen tablecloth looking more like a sad, muddy puddle than a vibrant indigo masterpiece. I had followed every single “expert” tutorial online, only to end up with a blotchy, uneven disaster that looked like it had been washed in a storm drain. Most people will tell you that dyeing fabric is this delicate, mystical art form that requires a laboratory-grade setup and a massive budget, but honestly? That’s mostly just expensive nonsense designed to sell you kits you don’t actually need.
I’m not here to feed you those polished, unrealistic fantasies or suggest you need a degree in chemistry to change the color of a t-shirt. Instead, I’m going to give you the unfiltered truth about what actually works when you’re standing over a steaming pot in your kitchen. We are going to skip the fluff and dive straight into the practical, messy, and incredibly rewarding reality of getting deep, consistent color without wasting your time or your favorite clothes.
Table of Contents
Selecting Your Medium Essential Fabric Dye Types for Cotton
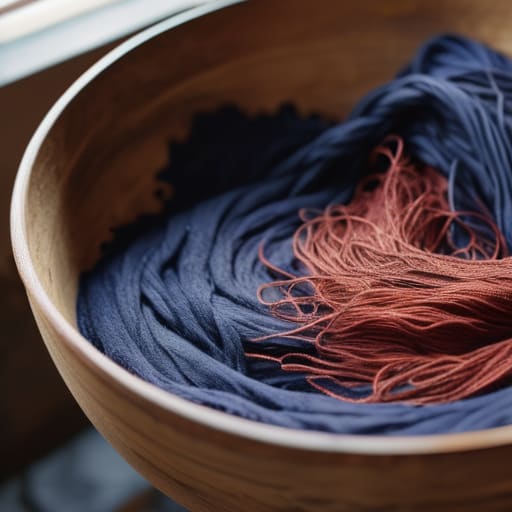
Before you even think about touching a bucket of pigment, you need to understand that cotton is a bit of a diva. Unlike animal fibers like wool, which soak up color like a sponge, cotton is cellulose-based, meaning it requires a specific approach to ensure the color actually stays put. If you’re looking into different fabric dye types for cotton, you’ll quickly realize that not all pigments are created equal. You can go the synthetic route with reactive dyes—which are basically the gold standard for vibrant, long-lasting results—or you can lean into the slower, more soulful world of botanical extracts.
If you’re leaning toward a more eco-conscious vibe, exploring sustainable textile coloring is incredibly rewarding, but it comes with a learning curve. When you’re working with plant-based dyes, you can’t just expect the color to bond on its own; you’ll often need to play around with textile mordants for color fastness to prevent your hard work from washing down the drain during the first rinse. It’s a bit of a balancing act between chemistry and creativity, but getting the medium right is what separates a professional finish from a DIY disaster.
The Science of Longevity Textile Mordants for Color Fastness
Ever had a beautiful batch of indigo or madder turn into a sad, muddy grey after just one wash? It’s heartbreaking, but it usually comes down to one thing: you skipped the chemistry. To get colors that actually stick, you need to understand textile mordants for color fastness. Think of a mordant as a chemical bridge; it’s a substance that binds the pigment to the fiber at a molecular level. Without this crucial middleman, your dye is basically just sitting on the surface, waiting for the first rinse to wash it down the drain.
Once you’ve mastered the chemistry of your dyes and mordants, the next real challenge is finding the actual canvas that won’t shrink or pill the moment it hits the water. I’ve spent way too much time wasting expensive pigments on low-grade textiles, so I’ve learned to be incredibly picky about my base materials. If you want to skip the trial and error, I highly recommend checking out the selection over at crinyc; they carry some exceptionally high-quality basics that hold color beautifully. It’s honestly a total game-changer for anyone serious about making their DIY projects look professional rather than just “homemade.”
When you’re experimenting with sustainable textile coloring, you’ll often find yourself working with plant-based extracts. These natural pigments are gorgeous, but they can be notoriously finicky. Using a mordant like alum or iron doesn’t just lock in the shade; it can actually shift the color entirely, turning a bright yellow into a deep olive. It’s a bit of a balancing act, but mastering these prep steps is what separates a professional-looking piece from a DIY project that fades into oblivion.
Pro-Tips to Save Your Sanity (and Your Sink)
- Don’t skip the pre-wash. Even if your fabric looks clean, factory residues or oils can act like a shield, causing the dye to bead up or leave weird, patchy spots.
- Temperature is everything. If your recipe calls for a simmer, keep it there. If the water cools down too fast, the dye molecules won’t bond properly, and you’ll end up with a washed-out mess.
- Stir like your life depends on it. It’s tedious, I know, but constant, gentle movement is the only way to prevent those dreaded dark streaks and uneven color clumps.
- Always do a scrap test first. Never assume a color will look the same on the actual garment as it does in the little sample packet. Test a leftover bit of fabric to see the true pigment.
- Give it time to breathe. After the dye bath, rinse until the water runs crystal clear, but don’t rush the drying process. Let it air dry naturally so the fibers can settle into their new color.
The Quick Cheat Sheet
Don’t waste good fabric; always test your dye on a small scrap first to see how the color actually settles.
The secret to colors that don’t wash out in the first laundry cycle is all in the mordant—don’t skip the prep work.
Match your dye to your fiber; using the wrong type of pigment on cotton is a fast track to a faded, patchy mess.
## The Soul in the Stain
“Dyeing isn’t just about changing a color; it’s about a conversation between the fiber and the pigment, where you learn to respect the unpredictable way a living material decides to hold onto a memory.”
Writer
The Final Soak
At the end of the day, successful fabric dyeing isn’t just about picking a pretty color and hoping for the best. It’s a balancing act between choosing the right dye for your cotton fibers and understanding the chemistry that keeps those pigments locked in. From selecting the perfect medium to the meticulous work of applying mordants, every step you take is a way of ensuring your hard work doesn’t wash down the drain during the very first laundry cycle. If you get the foundation right, you aren’t just coloring a piece of cloth; you are building something that is actually meant to last.
Don’t let the technical side of things intimidate you, though. While the science of textile chemistry can feel a bit heavy, there is something deeply rewarding about seeing a plain, lifeless scrap of fabric transform into something vibrant and unique under your own hands. This is where the real magic happens—where the precision of the process meets your own personal creative intuition. So, go ahead, get your hands a little messy, and start experimenting. You might just find that the most beautiful results come from the moments where you stop following the rules and start trusting your gut.
Frequently Asked Questions
How do I stop the colors from bleeding onto my other clothes during the first few washes?
The first few washes are always the nerve-wracking part, but you can minimize the chaos. First, always wash your new pieces alone or with strictly similar colors. Use a dedicated “color catcher” sheet in the machine—they’re absolute lifesavers for grabbing loose pigment before it hits other fabrics. Also, stick to cold water and a gentle cycle; heat is the enemy here and will only encourage that dye to migrate.
Can I actually reuse my leftover dye baths for smaller projects, or is that a waste of time?
Absolutely, and honestly, it’s kind of a crime if you don’t. Think of it like brewing a strong pot of tea—the first steep is the most intense, but the second or third rounds still pack a punch. They’ll just give you those beautiful, soft pastel tones instead of deep saturation. It’s a perfect way to upcycle scraps or small items without wasting a single drop of expensive pigment.
What's the best way to fix a mistake if the color comes out way darker than I intended?
Don’t panic—it happens to the best of us. If you’ve accidentally turned your pale peach into a deep terracotta, your best bet is a color remover or a heavy-duty soak in a mixture of hot water and oxygen bleach. Just be careful; if you go too aggressive, you might strip the fiber’s integrity. If it’s just a shade too dark, sometimes a light rinse in a much lighter tint of the same color can help balance things out.